
360° photos
Edit 360° photos: in Develop look around, view as a little planet, level the horizon and even out stitch seams; in the Photo Editor shift the seam to the middle, patch the nadir or zenith with a logo, and preview in 360°.
SnazzyFoto edits 360° photos from cameras such as Insta360, Ricoh Theta or a phone's panorama mode. In Develop you fix their light and colour while you look around inside them, level the horizon and even out the stitch seams. In the Photo Editor you retouch the seam and cover the tripod at the bottom.
Which photos count as 360°
SnazzyFoto works with 360° photos saved as one flat picture that is twice as wide as it is high (2:1, called "equirectangular"), as JPEG, PNG or TIFF. Most 360° cameras and apps export this. A photo is treated as 360° when:
- the camera marked it as a 360° photo in its file information, or
- it is exactly 2:1 and at least 2000 pixels wide.
The camera's own raw formats (such as Insta360 .insp / .insv) can't be opened. Export a stitched JPEG from the camera's app first.
360° photos in Develop
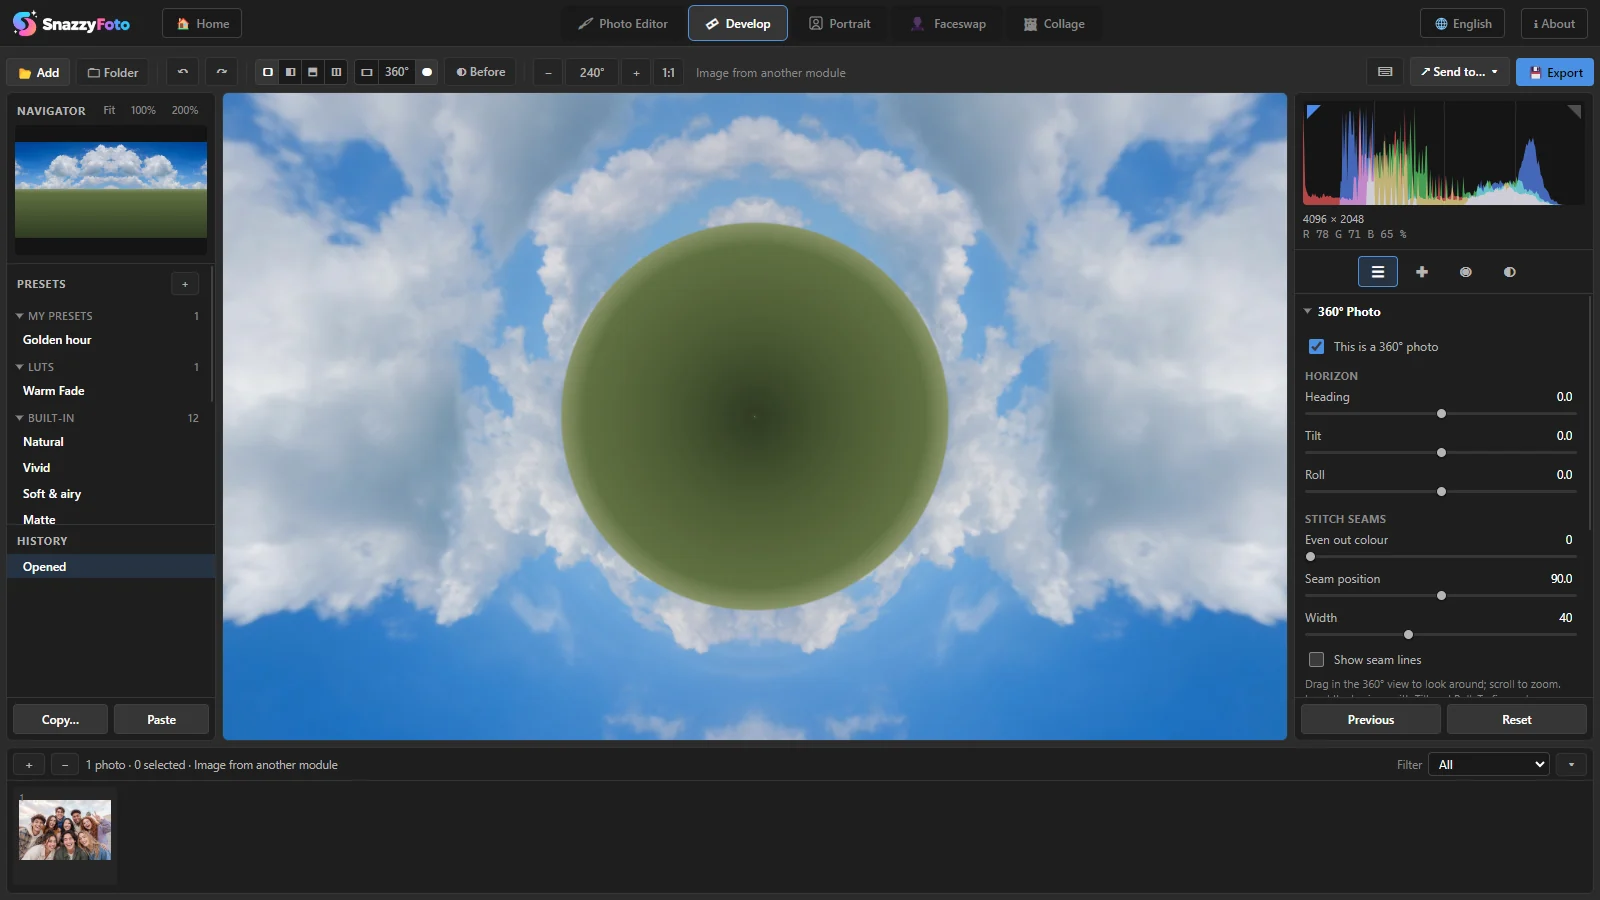 12345
- 1 The view — ▭ flat (the whole picture), 360° (look around inside it) and ◍ little planet. Shift + V switches between them.
- 2 The 360° Photo panel, at the top of the panels. This is a 360° photo turns 360° mode off (or on again) for this photo.
- 3 Horizon — Heading, Tilt and Roll.
- 4 Stitch seams — even out a colour difference where the camera's two lenses meet.
- 5 The photo. In the 360° and little planet views, drag to look around and scroll to zoom.
All the other panels — Basic, curves, colour, presets, masks — work as usual, on the whole sphere, and the left and right edges of the picture stay seamless. Tools that need the flat picture (masks, Remove, red eye) switch to the flat view by themselves.
Level the horizon
- Heading — turns the photo around, to choose which way the viewer looks first.
- Tilt and Roll — straighten a horizon that runs up and down like a wave in the flat view. Look in the 360° view while you move them: the horizon should be straight and level all the way round.
A 360° photo can't be cropped or straightened with the crop tool, and Upright, lens corrections, Transform, Sky Replacement and Lens Blur are not offered for it — the horizon sliders take their place.
Even out the stitch seams
Cameras with two lenses join two half-pictures. When the two halves were exposed a little differently, you see a soft line where the colour or brightness changes.
- Tick Show seam lines. The view switches to flat, with two dashed lines.
- Drag the lines onto the seams in your photo (or move Seam position).
- Raise Even out colour until the step is gone. Width sets how far from the seam the correction fades out.
Export
Export as usual. The exported file stays a full 360° photo: SnazzyFoto writes the 360° information back into it, so Facebook, Google Maps and 360° viewers recognise it. The free version's 2048-pixel limit applies, as for any export.
360° photos in the Photo Editor
For repairs by hand — a visible seam, a tripod or your own shadow at the bottom — send the photo to the Photo Editor (Ctrl + E) or open it there. A 2:1 picture is recognised as a 360° panorama by itself; otherwise choose Image › 360° Panorama › 360° panorama. The same menu has:
- Shift Half Way (Edge to Centre) — moves the picture sideways by half its width, so the place where the left and right edges meet is in the middle. Retouch it there with the normal tools (clone, heal, brush), then shift back with the same command.
- Patch Nadir (Bottom)… and Patch Zenith (Top)… — cover the bottom (where the tripod is) or the top with a new layer. Fill: Blend from surroundings (colours from around the patch), a Colour, or None (logo only). Add your own Logo if you like, with Logo size, Rotation and Soft edge. Size sets how much of the pole is covered. Hide or delete the layer to remove the patch.
- 360° Preview — a small window where you look around the panorama while you edit; drag it and resize it as you like. Also in the View menu.
Export from the Photo Editor as a JPEG or PNG keeps the 360° information too.
Questions
My 360° photo opens as a normal flat photo.
It is probably not exactly 2:1, or smaller than 2000 pixels wide, and has no 360° information. In Develop, open the 360° Photo panel if it is shown and tick This is a 360° photo; in the Photo Editor use Image › 360° Panorama › 360° panorama.
A wide photo that is not 360° opens as a 360° photo.
Untick This is a 360° photo in the 360° Photo panel. SnazzyFoto remembers that for this photo.
Can SnazzyFoto stitch my camera's .insp or .insv files?
No. Stitch and export them as a JPEG in the camera maker's app, then open the JPEG.